10 Essential Tips for Choosing the Best Food Garburator for Your Kitchen?
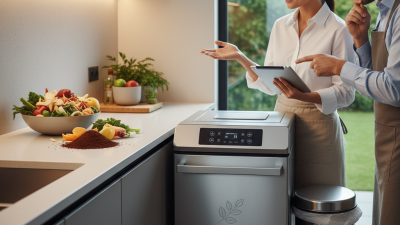
Choosing the right Food Garburator is crucial for an efficient kitchen. Studies show that over 50% of households benefit from using a garburator. This handy appliance reduces food waste and can help in maintaining a cleaner kitchen environment. With the right model, users can save time and enhance their overall cooking experience.
However, selecting a Food Garburator can be overwhelming. Many options are available, each with different features and specifications. A report from the Environmental Protection Agency indicates that proper use of food disposal systems can significantly lower landfill waste. Yet, misconceptions about noise levels and installation ease often deter potential buyers.
It's important to reflect on your kitchen needs. What fits your lifestyle? How often do you cook? Understanding these factors will guide your decision. Choosing a Food Garburator should not be just a quick fix, but a thoughtful investment toward sustainability and home efficiency.
Key Factors to Consider When Choosing a Food Garburator
Choosing the right food garburator can significantly enhance your kitchen experience. One crucial factor is the motor power. A stronger motor can handle tougher food scraps, reducing clogs and jams. Consider models with at least 1 horsepower if you regularly dispose of fibrous or hard items. However, higher power also means more noise. You need to think about noise levels, especially if your kitchen is close to living spaces.
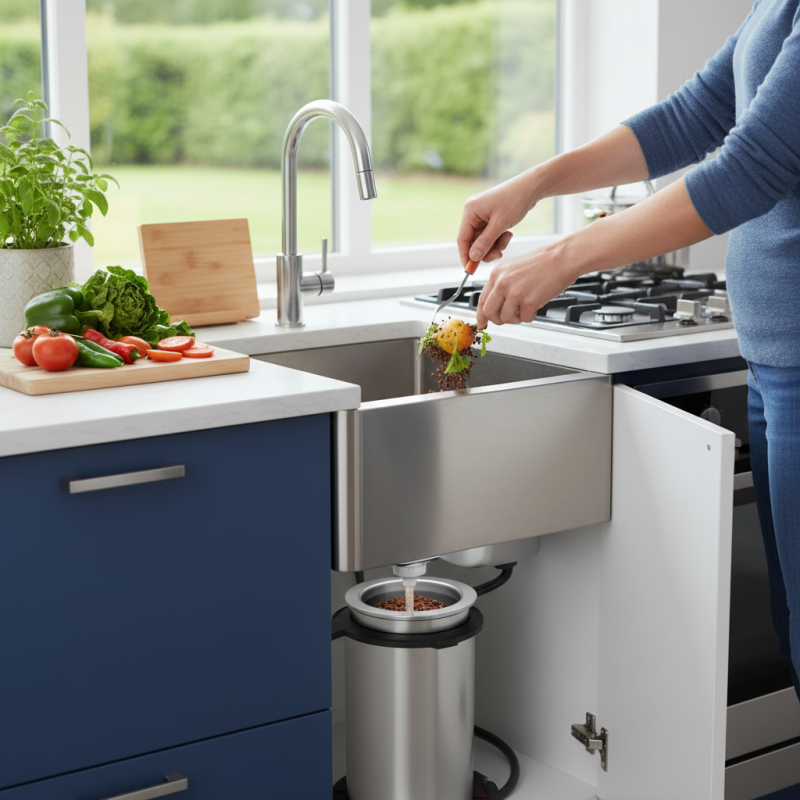
Another essential aspect is installation requirements. Some units are easier to install than others. Evaluate your plumbing setup before purchasing. A complicated installation may lead to extra costs or even a professional installation. You should also consider maintenance needs. Some garburators require regular cleaning to avoid odors. A user-friendly cleaning process is vital.
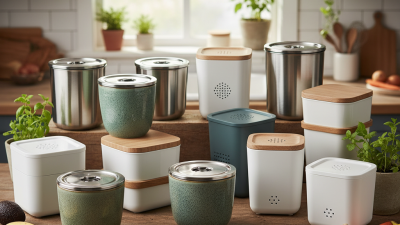
Lastly, think about the overall size. A compact model may fit small kitchens better. However, ensure it has enough capacity for your household needs. Space optimization is key in limited areas. Reflect on the balance between size and functionality to make an informed decision.
Types of Food Garburators: Which One Suits Your Needs?
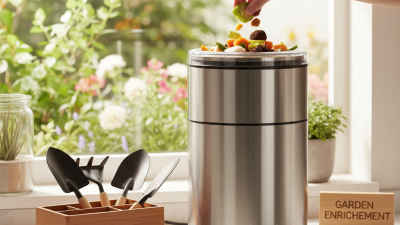
When selecting a food garburator, understanding the different types available is crucial. There are continuous feed models and batch feed models. Continuous feed units allow for ongoing disposal while the water runs. They are convenient for larger families. A study by the Environmental Protection Agency highlights that such units can manage more food waste, thus promoting sustainability.
Batch feed models, however, require you to load waste and then activate the unit. This option is safer, especially in households with children. According to a recent market report, batch feed models have seen a 15% increase in sales this past year. This indicates a growing preference for safety in kitchen appliances.
Tip: Consider noise levels when choosing a garburator. Many households report dissatisfaction with noisy models. Opt for those with noise-reduction technology.
Additionally, be aware of compatibility with your sink. Not all models fit all sinks. Research shows that improper installation can lead to leaks and maintenance issues. Measure your sink and check specifications carefully.
Tip: Look for warranties that cover motor and parts. The longevity of a garburator is essential, and warranties can provide peace of mind against early failures.
Noise Level and Power: What to Look for in a Garburator
When choosing a food garburator, noise level and power should be high on your list. Noise can be a significant concern. Many users report irritation from loud models. Studies show that sound levels of over 80 decibels can cause discomfort. A quieter model can make a big difference in your kitchen experience. Look for units that operate at 60 decibels or lower for a more pleasant environment.
Power is equally crucial. A more powerful garburator can handle tougher waste. Models with 1 horsepower can grind fibrous materials like celery. Conversely, lower-power units may struggle. According to industry data, around 600 to 800 watts is average for home use. Make sure to match the power to your cooking habits.
Tip: Test noise levels before buying. If possible, listen to the garburator in action. Consider your kitchen layout too. A unit placed near living areas should be quieter. Remember, balance is key. High power may lead to increased noise. Searching for that perfect model requires patience. Make informed choices based on your lifestyle and kitchen needs.
Noise Level and Power Comparison of Food Garburators
Installation Requirements and Space Considerations
When selecting a food garburator, installation requirements and space considerations are crucial. Measurements matter. A standard model needs at least 24 inches of vertical space under your sink. If you have limited cabinet space, you may require a compact unit. Manufacturers recommend at least 3-4 inches of clearance above and below the unit. This ensures proper drainage and function.
Here's a tip: consider your sink size. A larger sink can accommodate a bigger garburator. Yet, if your kitchen has limited room, a smaller model may suffice. Some reports indicate that 40% of homeowners struggle with inadequate installation space. This can lead to poor performance and frequent jams.
Also, take plumbing into account. Most units connect to your existing plumbing, but older homes may need upgrades. An industry study found that 30% of installations encounter plumbing issues. Ensure everything is compatible from the start to avoid costly fixes later. Easy installation can make a difference.
Maintenance Tips for Long-lasting Food Garburator Performance
Maintaining your food garburator is crucial for optimal performance. Regular upkeep can significantly extend its lifespan. According to industry studies, a well-maintained garburator can last more than 10 years. Here are some practical tips to ensure your unit performs efficiently.
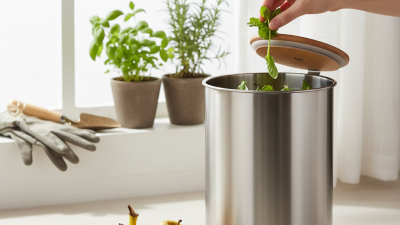
Tip 1: Always run cold water for about 30 seconds before and after you use the garburator. Cold water helps solidify any grease or oils, making them easier to grind. This simple step prevents clogs and keeps the blades sharp.
Tip 2: Avoid grinding fibrous materials like corn husks or celery. These can tangle around the blades, potentially causing damage. Be mindful of what you toss in. It's easy to overlook this, but it matters.
Tip 3: You should clean the unit monthly. A mixture of baking soda and vinegar can break down grime and odors. Pour it down the garburator and let it sit for a while. A clean garburator not only works better but also keeps your kitchen smelling fresh.
Over time, even regular users can forget simple maintenance steps. Being attentive to details can prevent more extensive repairs down the line. Making these practices a habit will pay off in the long run.
 Nanda Trans Series-200
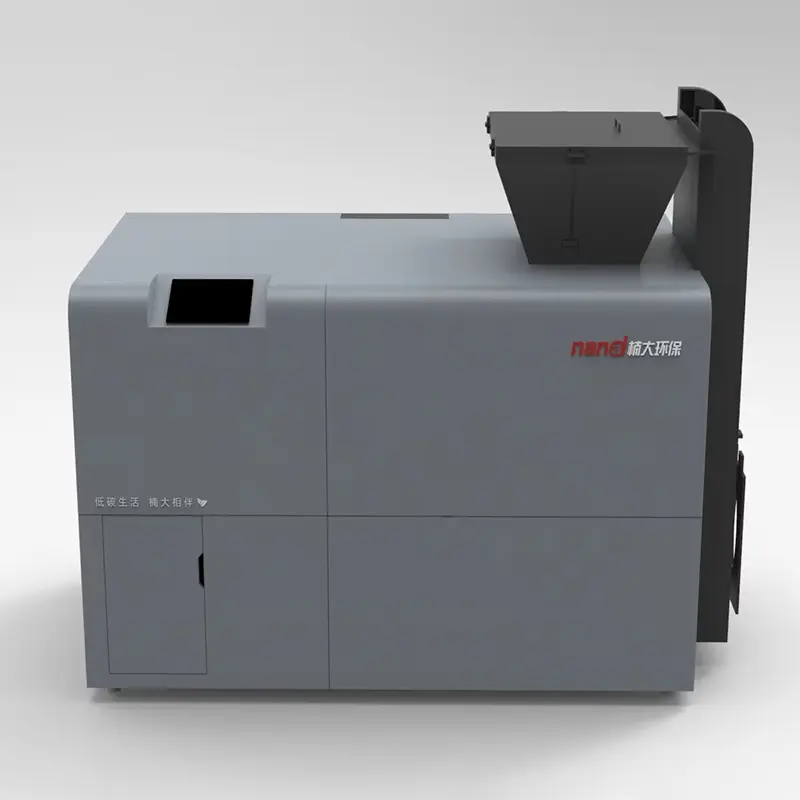 Nanda Trans Series-500
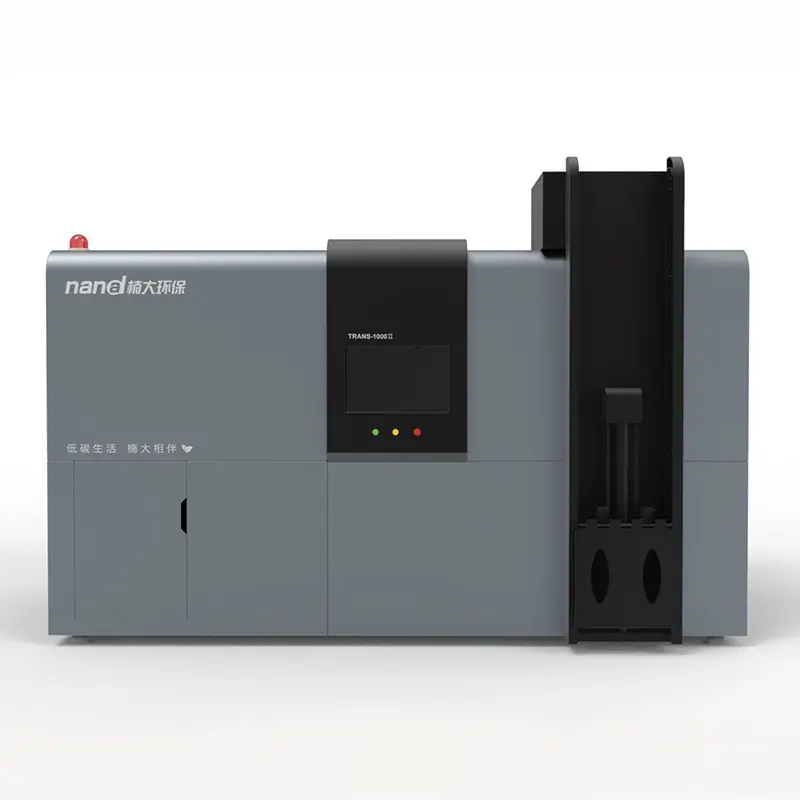 Nanda Trans Series-1000
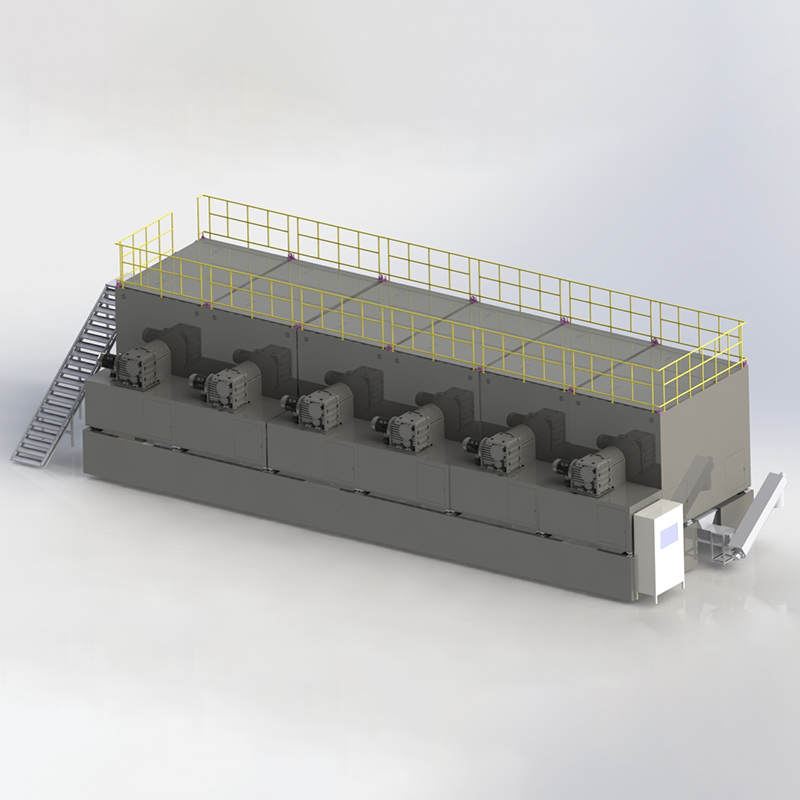 Nanda Trans Series-30000
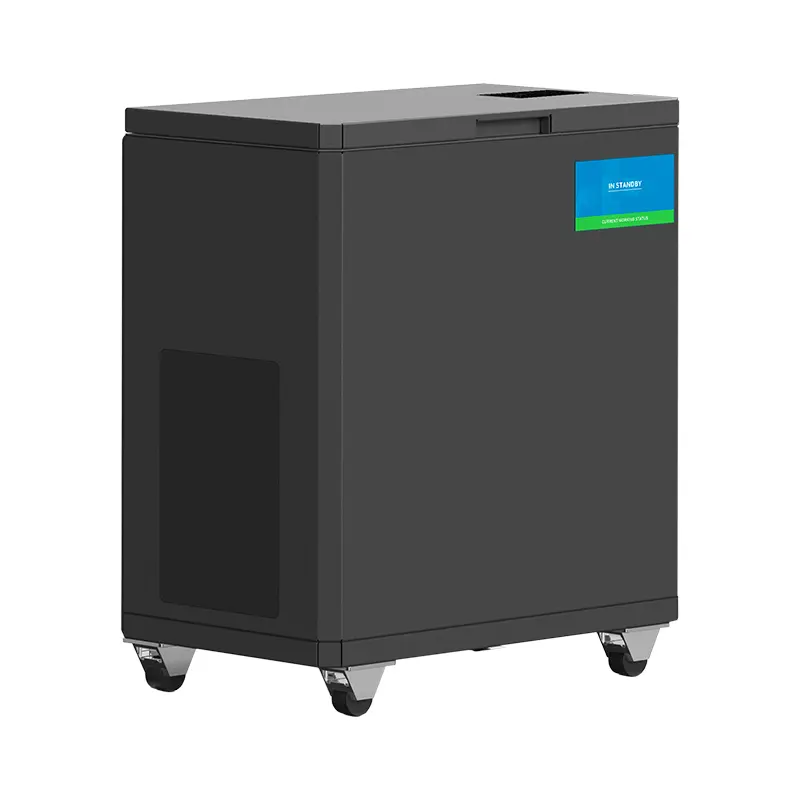 Nanda Thermax Series-100
 Nanda Thermax Series-200
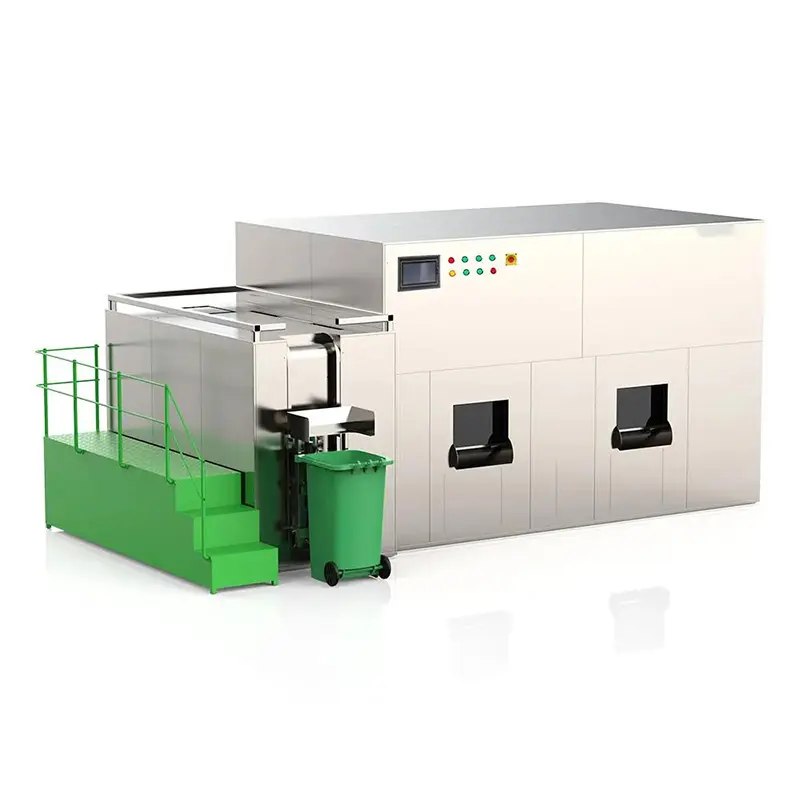 Nanda Thermax Series-2000
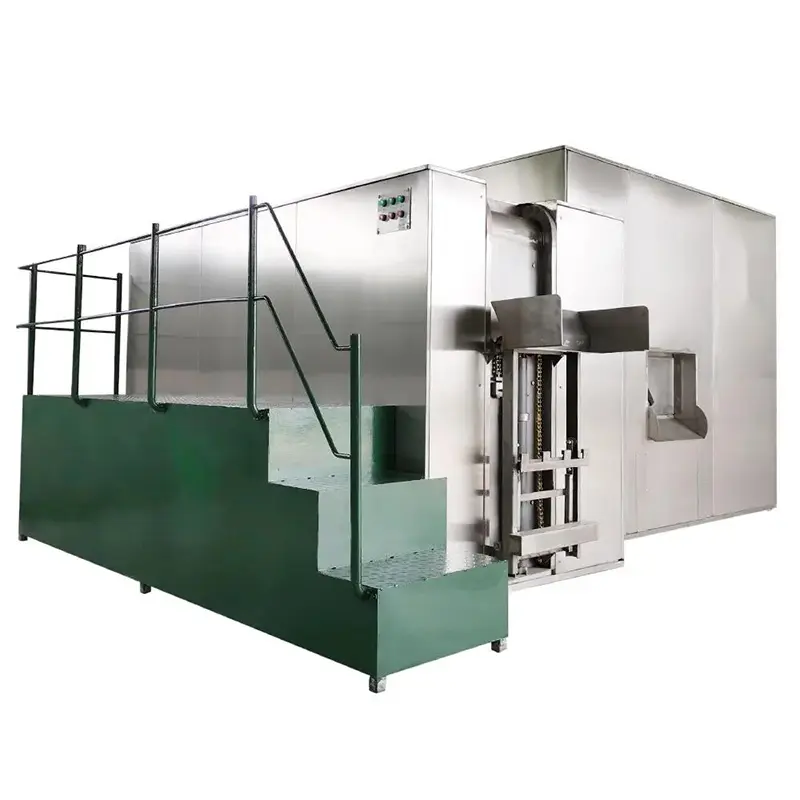 Nanda Thermax Series-10000
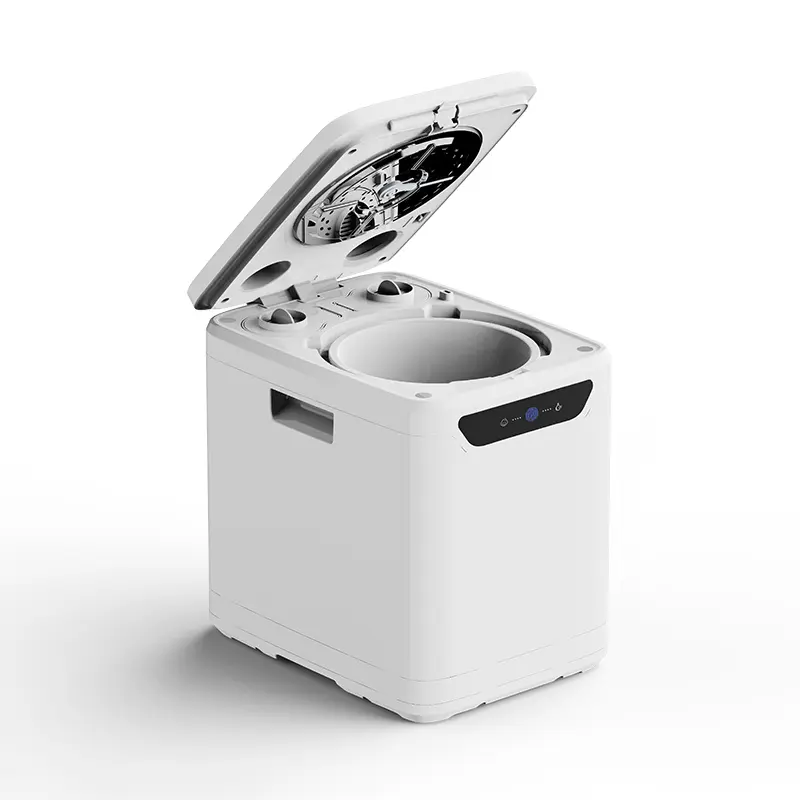 Nanda Turbo Series-3.5L-016
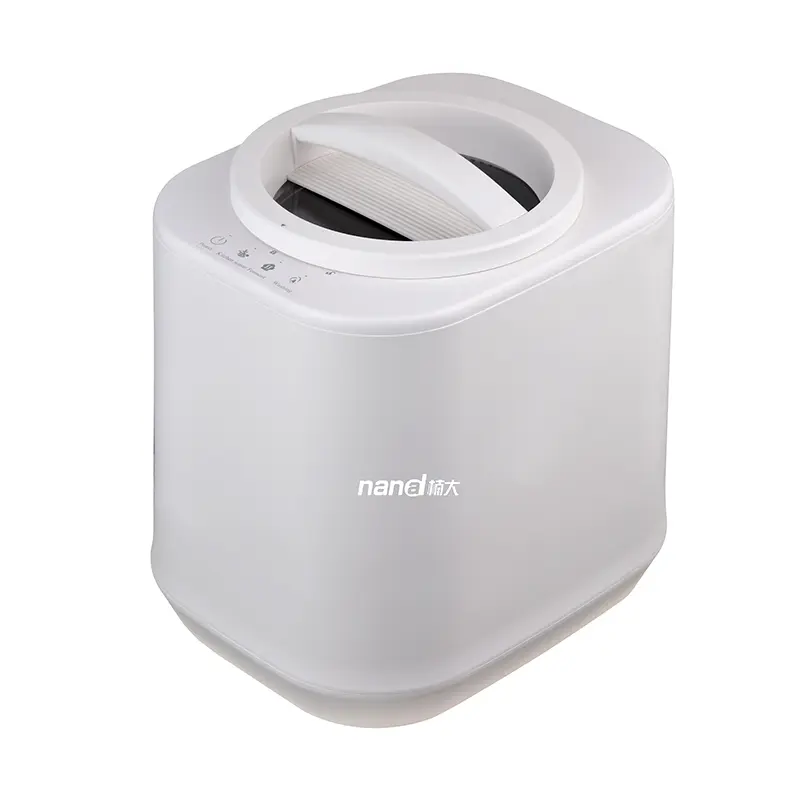 Nanda-Turbo Series-4L-011
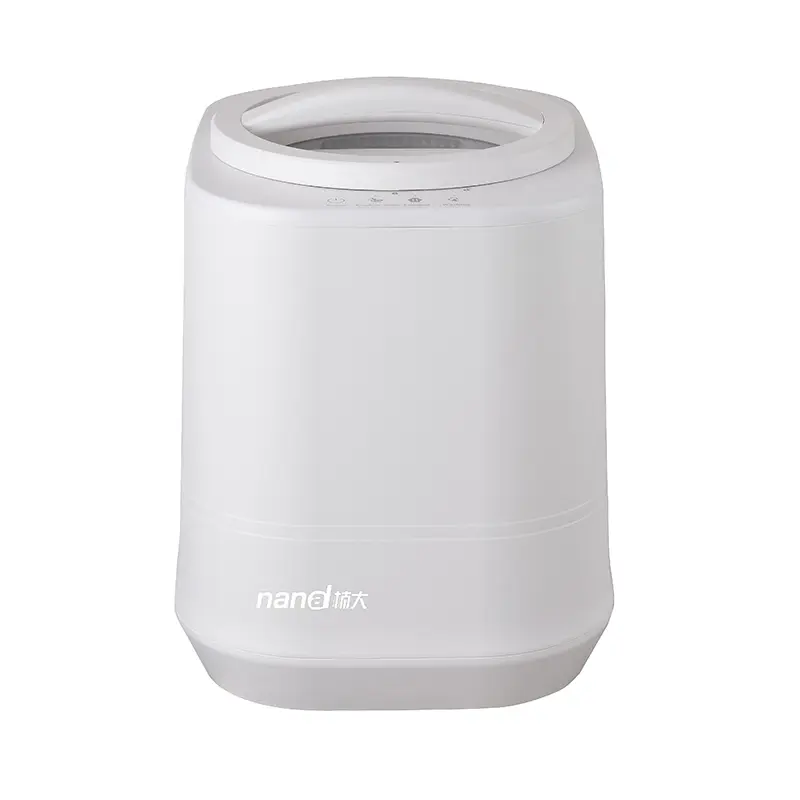 Nanda Turbo Series-4L-012
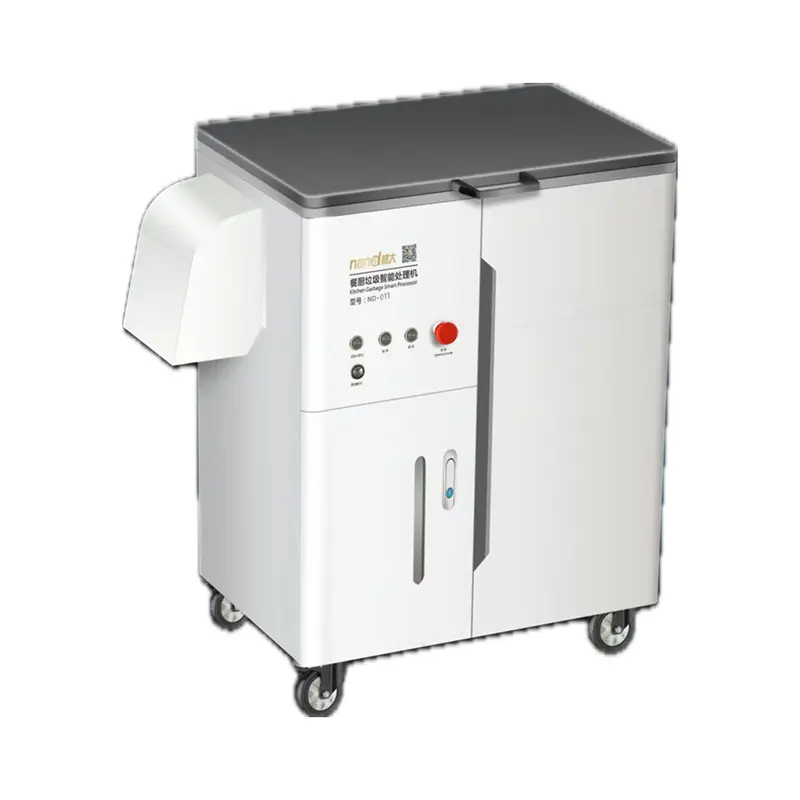 Oil-Water Separator