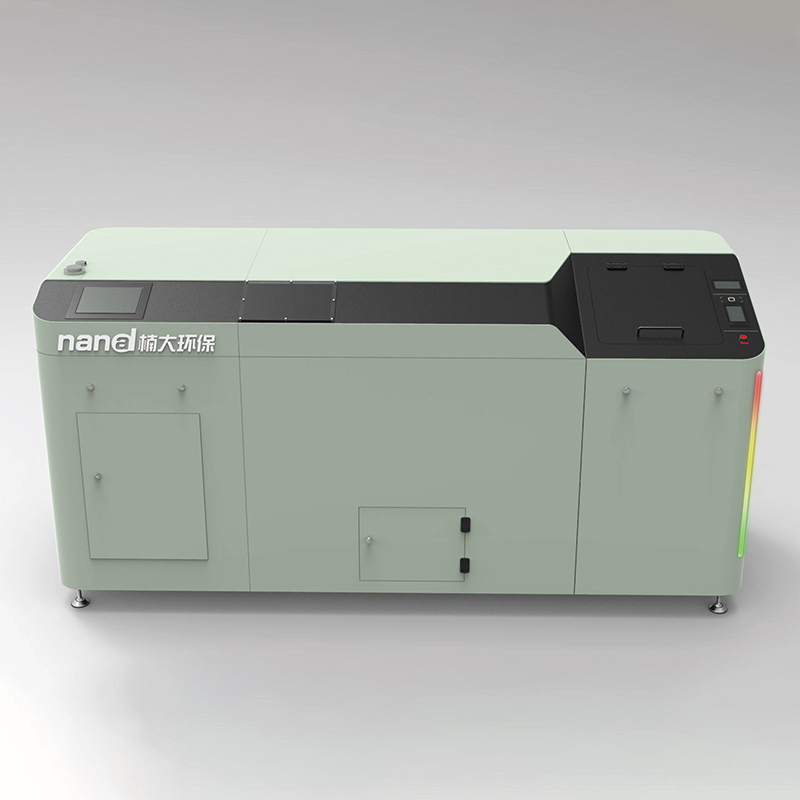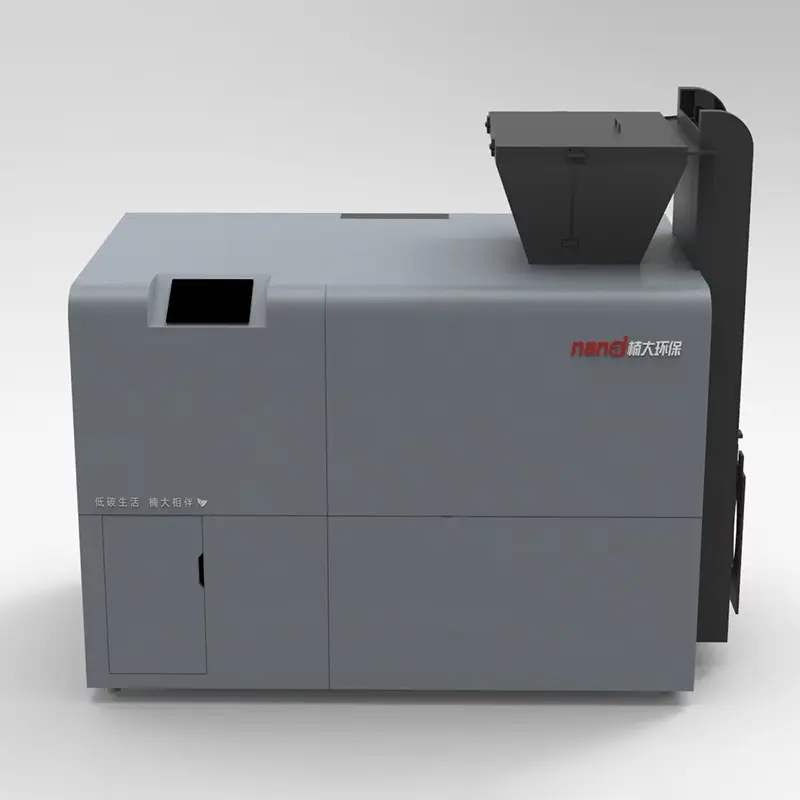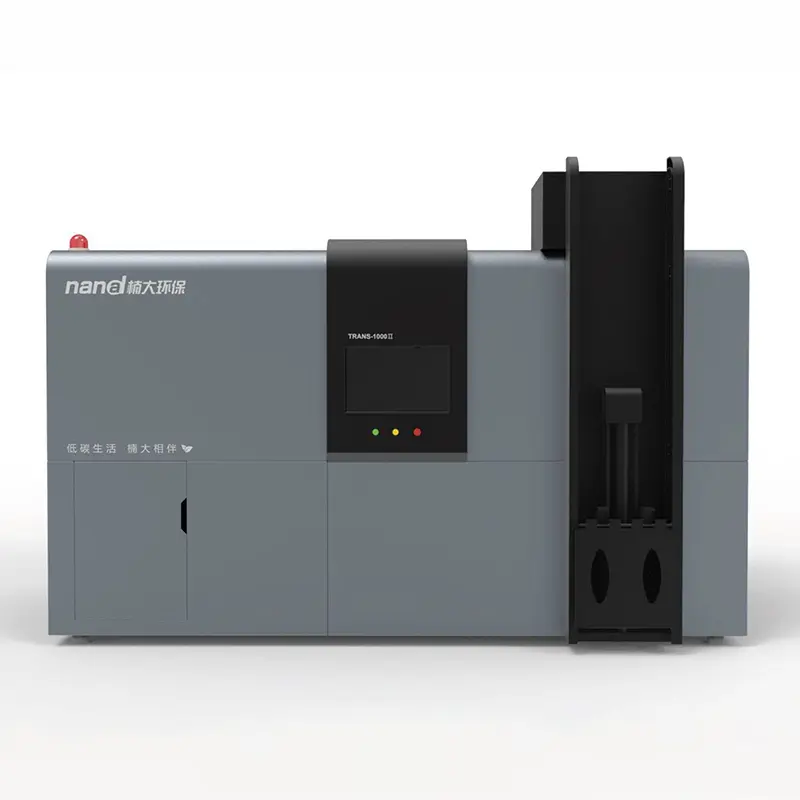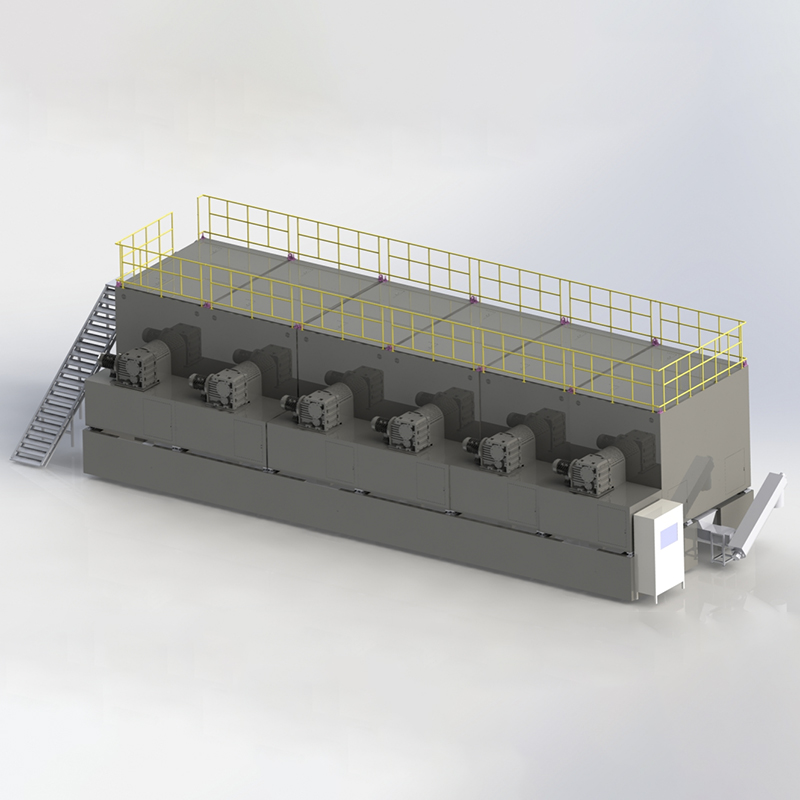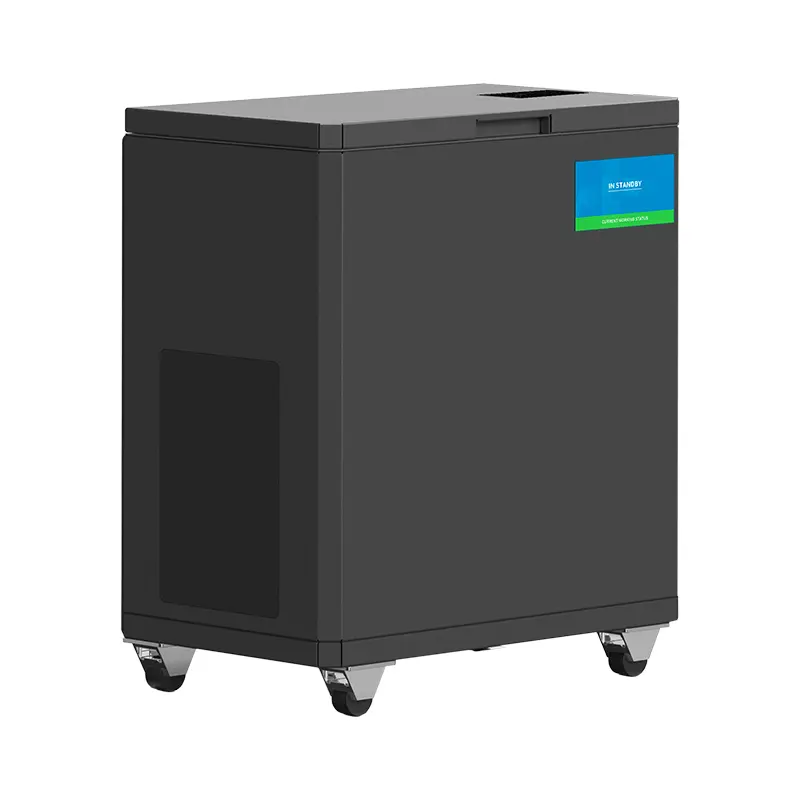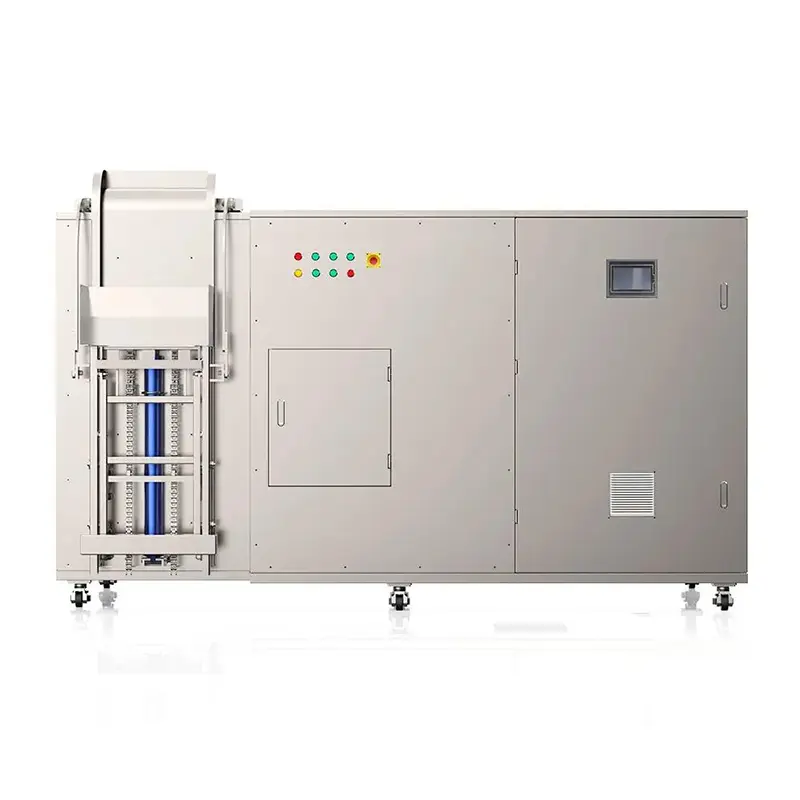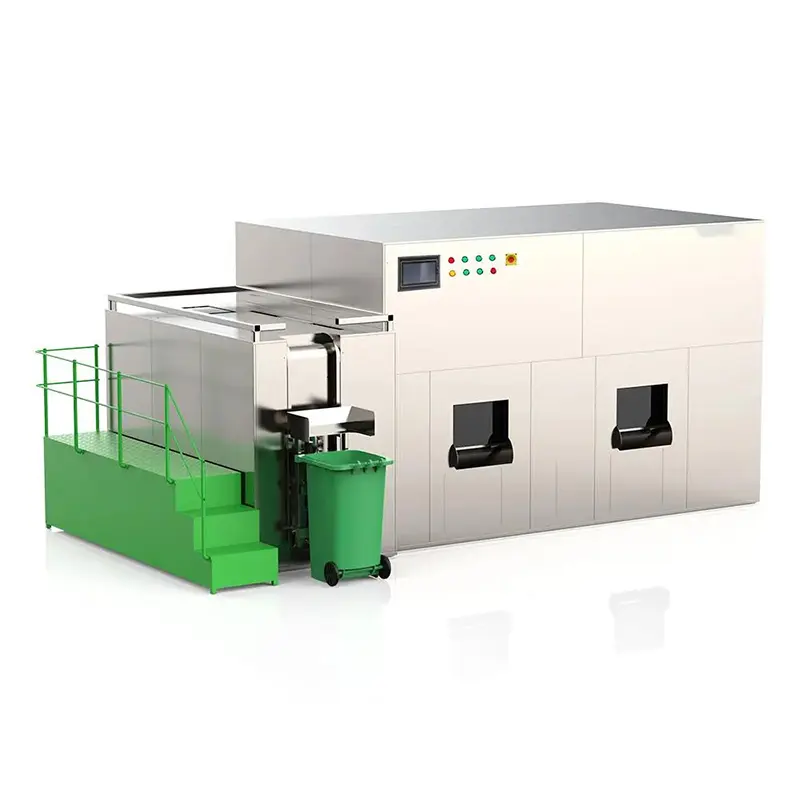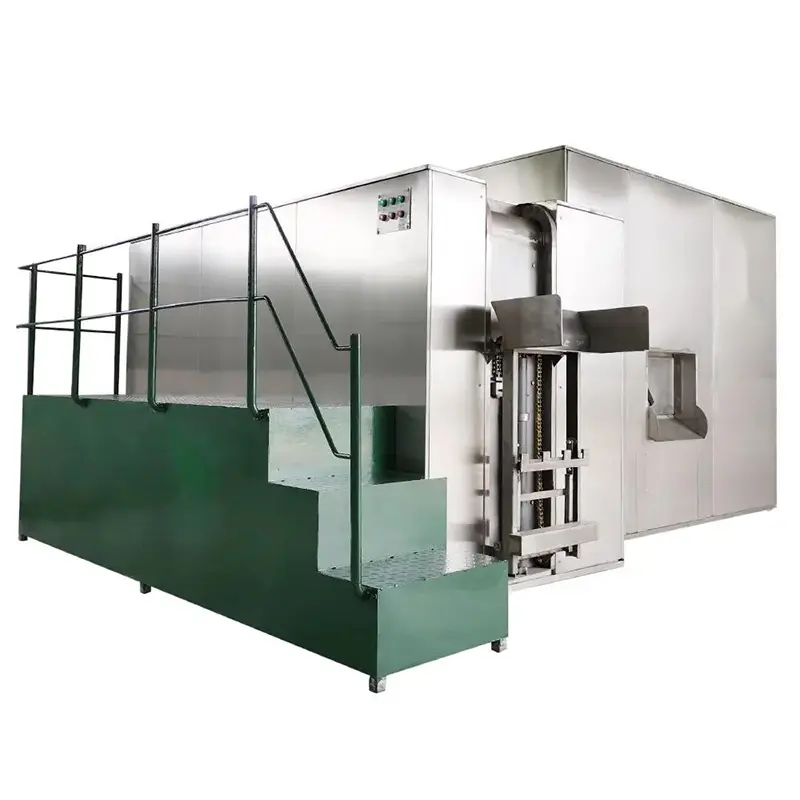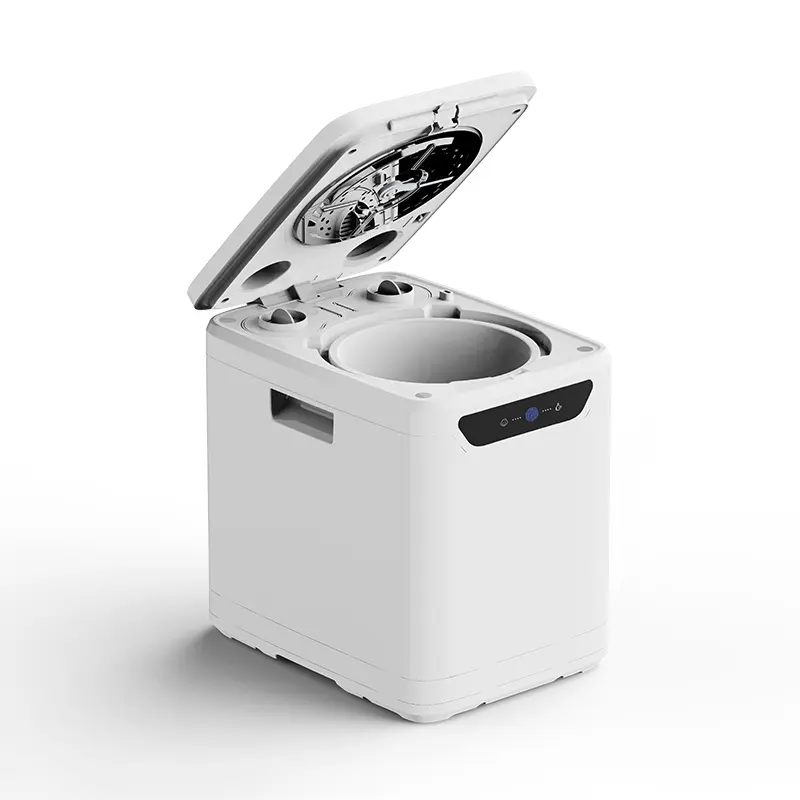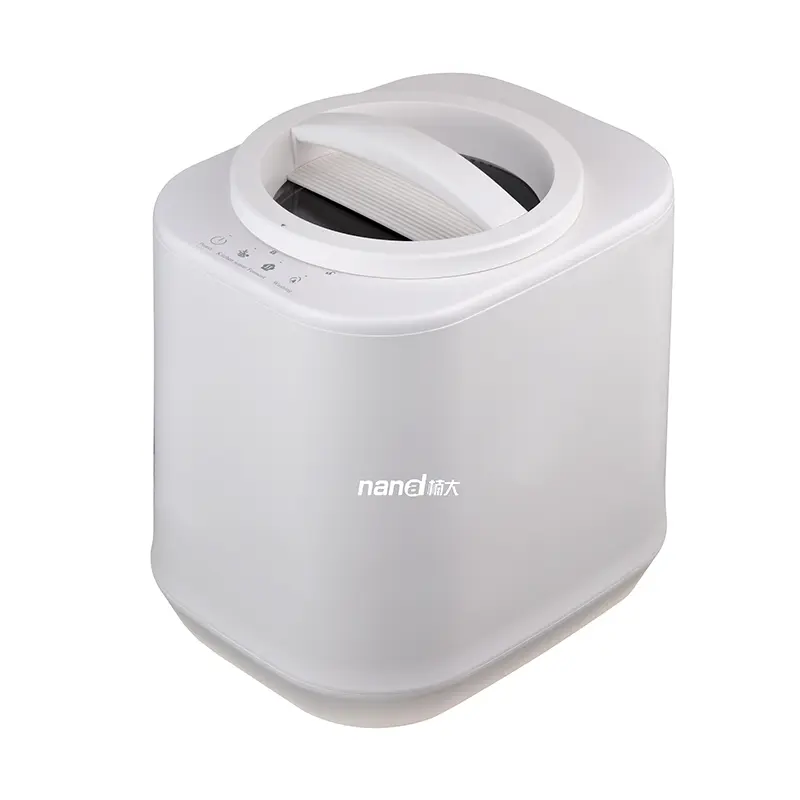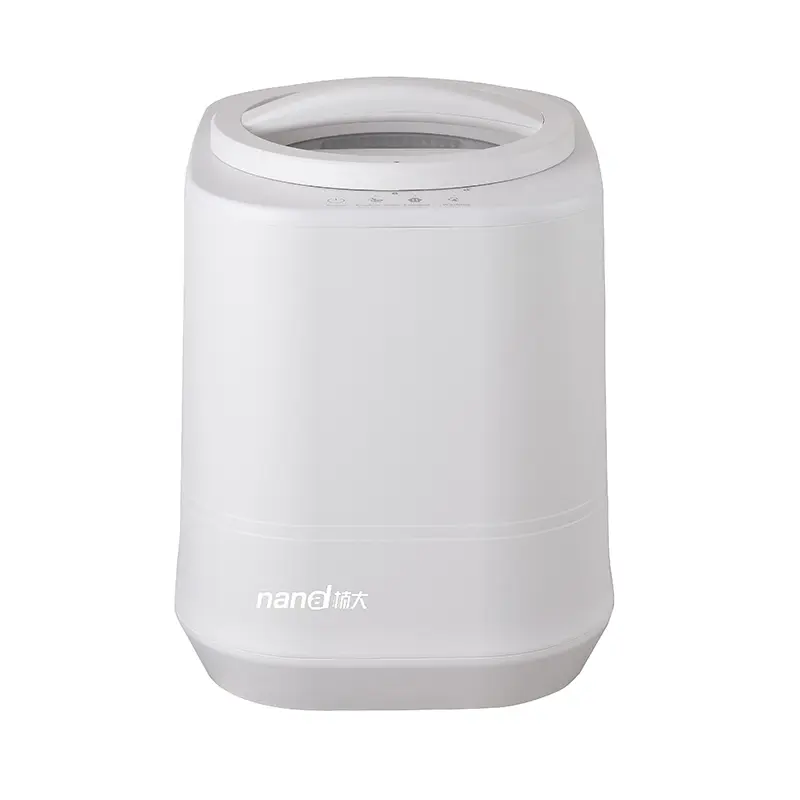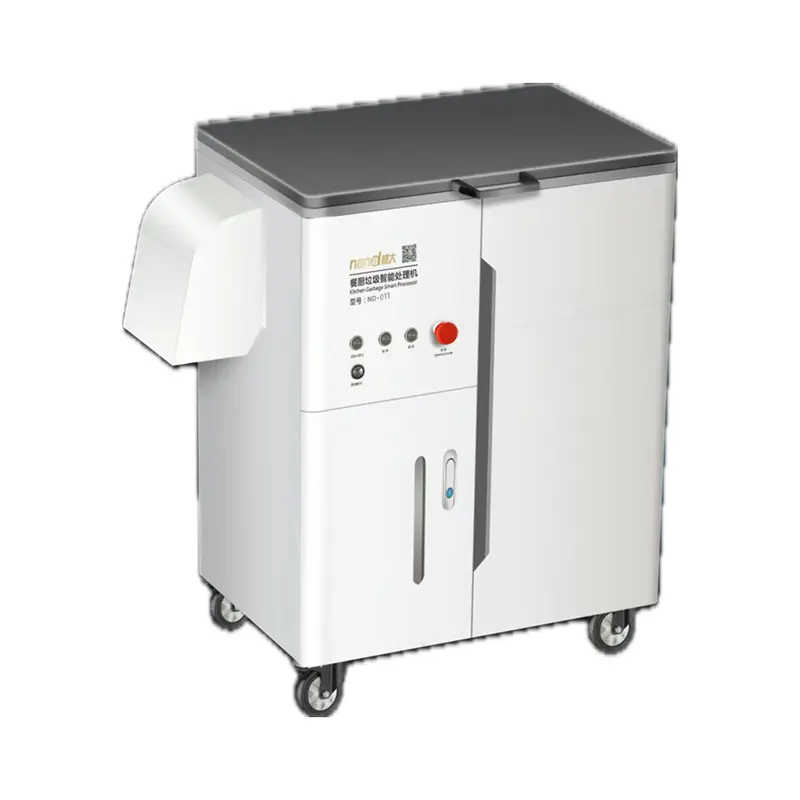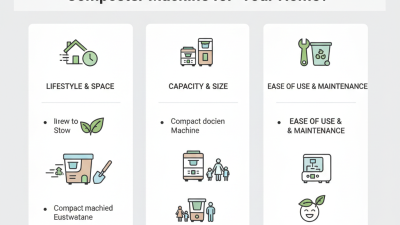
Choosing a Food Scrap Recycler is less about finding the newest equipment and more about matching a service to your kitchen, waste volume, and local options. A useful comparison starts with a simple question: what happens to scraps after collection or processing? Some providers send material to composting facilities; others dry or grind it. Those methods produce different results, so ask where the material goes and how the provider describes the finished output. Small details matter.
Before comparing prices, track your household’s scraps for a week. Note how often you fill a countertop bin, whether food sits for several days, and which items you throw away most. Then check each recycler’s accepted materials, pickup schedule, container size, cleaning instructions, and rules for contamination. A service that accepts a wide range of scraps may still be inconvenient if pickup days clash with your routine. That is not enough.
Look for clear answers about fees, processing methods, and what happens when loads contain unsuitable items. Transparent providers should explain their process without relying only on broad environmental claims. If available, review independent customer feedback and ask nearby users about missed pickups, lingering odors, or confusing instructions. These everyday details can reveal more than polished marketing. No option is perfect, and advertised benefits may not answer every practical question. Compare what you can verify, note what remains uncertain, and choose a Food Scrap Recycler that fits your habits as well as your sustainability goals.
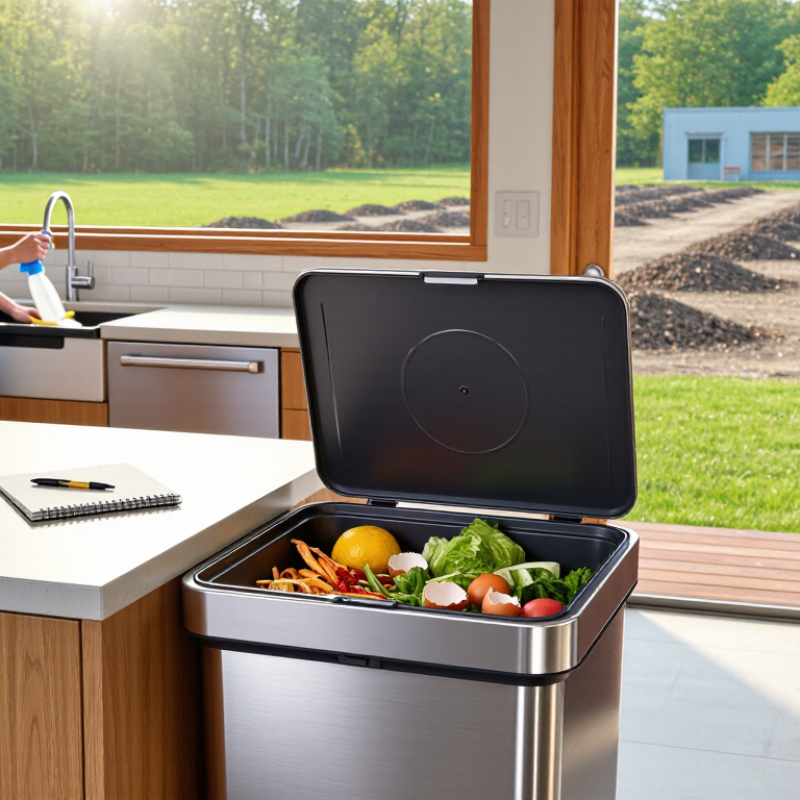
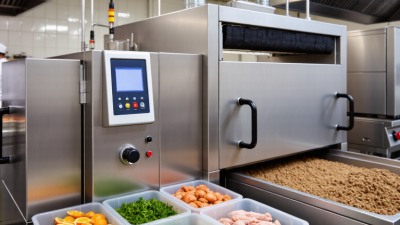
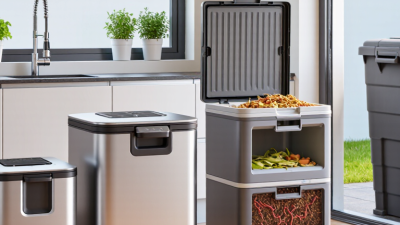
Food scrap recyclers do different jobs. A countertop dehydrator heats and dries peels, coffee grounds, and leftovers, reducing their volume. Its output is usually dry, ground material, not finished compost; check whether it suits your garden or local waste guidance. A home compost bin uses air, moisture, and microbes to break scraps down. It works well with outdoor space and regular care. Bokashi buckets ferment scraps in an airtight container, but the fermented material usually needs further composting or burial.
An in-sink disposer grinds food and sends it into plumbing; it does not make compost at home. Whether it is suitable depends on your plumbing and local wastewater system. Community collection is another option: scraps are picked up separately and processed at a managed facility. Compare each type by the foods it accepts, available space, electricity use, noise, and how you will handle the finished material. A small kitchen may favor collection, while a garden can make a compost bin practical. The best fit is not always the most high-tech one.
Tips: Check the output. Read the accepted-scrap list before buying or enrolling. Keep meat, dairy, or oily foods out unless the system specifically accepts them. One overlooked detail: a dry-looking product may still need curing before use.
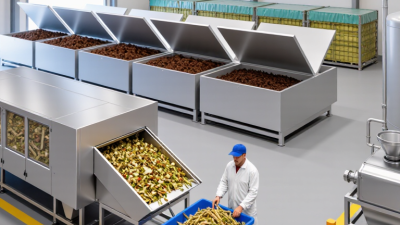
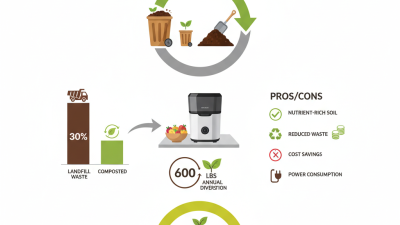
How to read this chart: Composting typically takes 60–180 days, anaerobic digestion about 15–30 days, and dehydration around 0.3–1 day. These are indicative ranges; actual times depend on equipment and operating conditions. Dehydration reduces moisture and volume, but its output may need further treatment before it can be used as compost.
Before choosing a food scrap recycler, measure what your household actually throws away. For one week, note the amount and types of scraps after cooking: vegetable peels, coffee grounds, eggshells, or leftovers. A small bowl of peelings each evening creates different needs than a family’s full countertop container. Keep a simple tally. It may feel fussy, but memory tends to exaggerate.
Consider who will use the unit and where it will sit. Check counter or storage space, access to an outlet if needed, and whether its capacity matches your usual routine. A compact household may prefer a smaller machine, while frequent batch cooking can require more room. Think about odors, noise, cleaning, and how often you can empty or maintain it. These details shape daily satisfaction more than an impressive feature list. Be honest about your habits. If scraps already sit for days, a device requiring frequent attention may not help. Also check which materials the recycler accepts; bones, oils, and large amounts of liquids may not suit every system. Your first estimate may be wrong. Adjust it after tracking a second week.
Choosing a food scrap recycler starts with an honest look at your daily waste. A couple cooking for two may need less capacity than a busy family that prepares meals every night. Check the usable chamber size, not just the appliance’s outer dimensions. A full container can mean waiting for the next cycle or storing scraps elsewhere. That matters. Keep in mind that peels, coffee grounds, and leftovers take up different amounts of space, so your real needs may vary from week to week.
Processing time also affects whether a unit fits your routine. Read the manufacturer’s stated cycle times, and note that load size and moisture can change results. If you cook in the evening, a long cycle may run overnight, but noise and countertop space could become concerns. Ease of use is more than a simple control panel. Look for a removable container that is comfortable to lift, clear cleaning instructions, and a lid that opens without awkward handling. Real kitchens vary. A recycler that seems convenient in a product description may feel fiddly beside a crowded sink. Compare these details against your own habits, and leave room for a little trial and error.
A food-scrap recycler can look inexpensive until you include filters, electricity, and replacement parts. Compare the purchase price with likely upkeep over several years. Check its capacity against your actual scraps, not an idealized household. A small unit may need frequent cycles after meal preparation. That matters. Ask how often the collection chamber and filters need cleaning or replacement. If the unit is difficult to open, food residue can build up around seals and corners. A quick rinse should not become a weekly project.
Maintenance affects both cost and reliability. Look for clear cleaning instructions and parts that are easy to access. Check whether the machine needs a specific filter, and whether that item is consistently available. Noise also counts: a loud cycle may discourage regular use, even if the machine performs well. I would not assume a more expensive model is automatically easier to maintain; inspect the removable parts and cleaning steps.
Environmental impact depends on what happens to the processed material. Some machines dry and grind scraps, reducing their volume, but the output is not automatically finished compost. Check whether a local composting service or suitable garden setup can accept it. Consider the device’s energy use, too, and compare it with your current disposal routine. Food scraps contain moisture, so drying them takes energy. The benefit can be smaller than expected if the output ends up in the trash anyway. A little uncertainty remains here. Look for specific capacity and energy information rather than broad claims about “eco-friendly” performance.
Choosing a food scrap recycler starts with a tape measure, not a feature list. Check counter depth, cabinet clearance, and the space needed to open the lid. A unit that fits beside the sink may still block a drawer. Small details matter. Think about your daily route, too. If scraps collect near the cutting board, a recycler across the kitchen can become an inconvenient extra step.
Estimate how much your household discards on an ordinary day, then consider busy cooking nights. A compact household may prefer a smaller unit that empties easily; a larger capacity can help, but only if the recycler stays accessible. Check how the container comes out, whether its parts fit in your sink, and how often filters or other consumables need attention. Noise matters in an open-plan kitchen, especially if the machine runs overnight. Read the care instructions before buying, since suitable inputs and maintenance needs vary by model. A common misjudgment is choosing the biggest option for flexibility. That assumption deserves a second look: an oversized appliance can take up useful counter space and make cleaning feel like a chore. Measure the spot, then picture using it on an ordinary weekday.
| Recycler Type | Approximate Space Needed | Typical Food Scraps | Routine and Processing | Best Fit | Important Considerations |
|---|---|---|---|---|---|
| Countertop electric food recycler | About 1–2 square feet of counter space, plus room for ventilation and access. | Often accepts many cooked and uncooked scraps; check the specific unit’s instructions. | Load scraps and run a powered cycle, which commonly takes several hours. The dried, ground output is not fully mature compost. | Households seeking a compact, low-handling option and willing to use electricity. | Consider noise, energy use, filter replacement, capacity, and how the output should be used. It may still need further composting or soil processing. |
| Worm bin (vermicomposting) | Typically about 1–4 square feet for a small home bin; allow access to feed and harvest it. | Suitable for many fruit and vegetable scraps, coffee grounds, and small amounts of other approved materials. | Feed small amounts regularly and maintain suitable moisture and airflow. Worms gradually produce castings over weeks to months. | People who want a quiet, ongoing system and can monitor its conditions. | Avoid overfeeding. Meat, dairy, oily foods, and large amounts of citrus are commonly unsuitable for household worm bins. Protect worms from temperature extremes. |
| Bokashi fermentation bucket | Usually about 1–2 square feet per bucket; two buckets help maintain a continuous routine. | Can handle a wider range of cooked food scraps than many home compost systems, following the system’s guidance. | Add scraps in batches, press out air, and drain liquid as directed. After fermentation, the contents generally need burial or further composting. | Apartment dwellers or households with limited outdoor space and a place to finish the fermented material. | Fermentation is not the same as finished composting. Plan for the post-fermentation step and manage the bucket to limit odors. |
| Outdoor compost tumbler | Often about 3–6 square feet, with extra clearance to turn and empty the tumbler. | Typically accepts fruit and vegetable scraps mixed with dry carbon-rich materials such as leaves or shredded paper. | Turn periodically and balance moist “green” scraps with dry “brown” material. Finished compost may take several weeks to months, depending on conditions. | Households with outdoor space that want to make compost on site. | Capacity is limited by the tumbler. Avoid adding meat, dairy, or oily foods unless the system specifically supports them; keep pests and excess moisture in mind. |
| Municipal or community food-scrap collection | A small lidded kitchen pail plus space for the collection cart or drop-off container, if required. | Accepted items vary by local program; some collect a broader range than backyard composting. | Store scraps as instructed, then set them out on collection day or take them to a drop-off site. | People who want to divert scraps without managing a composting process at home. | Check local rules, accepted materials, collection schedule, and drop-off locations. Program availability and guidelines differ by area. |