How to Choose the Best Kitchen Waste Disposer?
Choosing the best Kitchen Waste Disposer begins with understanding your sink, household habits, and plumbing layout. A powerful motor alone does not guarantee a better result. The right model should match your daily food waste, available cabinet space, electrical supply, and noise expectations.
John W. Hammes, widely recognized as the inventor of the modern food waste disposer, said, “The disposer is a practical tool for keeping the kitchen clean and sanitary.” His idea remains relevant, but modern buyers must consider more than convenience. Grinding chamber size, stainless-steel components, anti-jamming technology, and overload protection can significantly affect long-term performance. A disposer that quietly handles vegetable peels may struggle with fibrous celery or large bones. Small details matter.
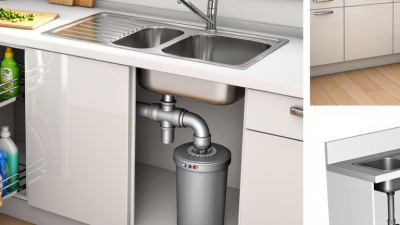
Look beneath the sink first. Measure carefully. Check the drain connection. Then consider how often your household cooks. A compact unit may suit a small apartment, while a larger family could need stronger continuous grinding power. Septic-system users should also confirm compatibility with a qualified professional.
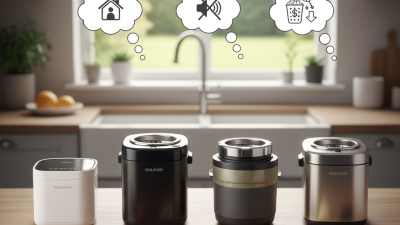
Noise ratings deserve attention, although manufacturers may measure sound under different conditions. This is where comparisons become imperfect. A quieter model can still vibrate if it is poorly installed. Installation quality matters more than many shopping guides admit.
The following guide examines essential specifications, realistic household needs, maintenance concerns, and common purchasing mistakes. It will not promise one perfect disposer for everyone. Kitchens differ. Budgets differ. Even personal tolerance for a brief grinding sound differs. The best Kitchen Waste Disposer is the one that performs reliably within your actual kitchen conditions.
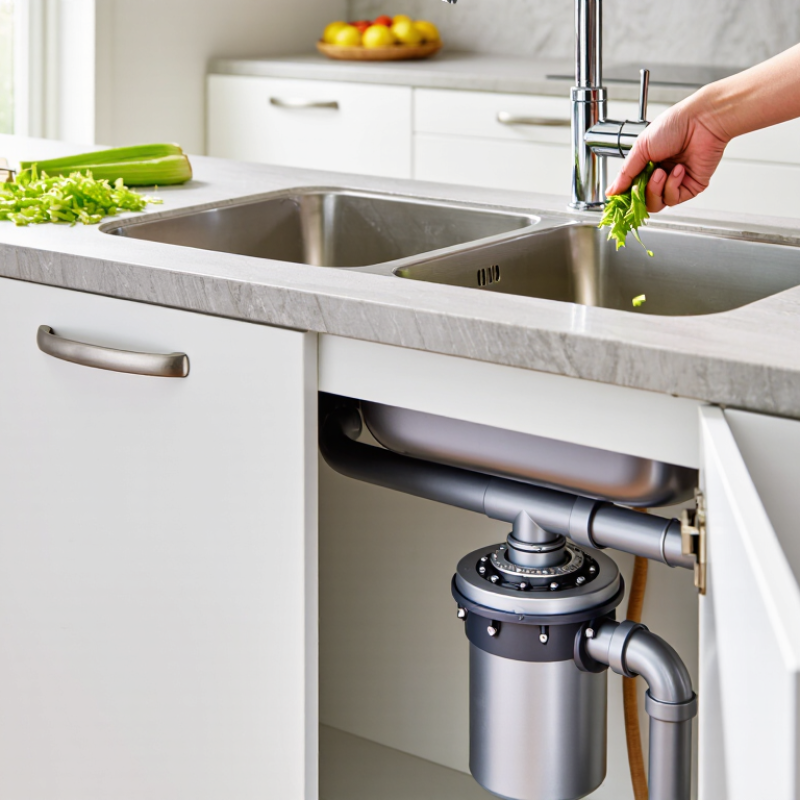
Define Household Needs: Match 1/3–1 HP Motors to Food-Waste Volume
Choosing the best kitchen waste disposer starts with your household’s daily food-waste volume. A 1/3 HP motor suits light use, such as vegetable peels, soft fruit, and occasional meal preparation. It often works well in a small kitchen with one or two residents.
A 1/2 HP model offers more practical capacity for regular cooking. It can handle softer scraps, cooked vegetables, and small amounts of poultry residue when used correctly. Families producing heavier waste may need a 3/4 HP or 1 HP motor. These units provide stronger grinding action and tolerate frequent operation better. They still need proper water flow and short feeding intervals.
Motor power is only one part of the decision. Check the sink opening, drain connection, electrical supply, and available cabinet space before installation. A larger motor may be unnecessary if your household rarely cooks. Oversizing can increase cost without improving daily convenience. That choice is easy to make badly.
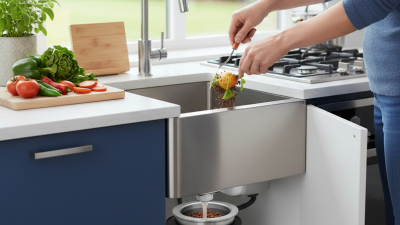
In real kitchens, food type matters as much as volume. Fibrous vegetable skins, bones, grease, and large quantities of scraps can strain any disposer. Feed small portions gradually, and never treat the motor rating as permission to grind everything. A careful match usually gives quieter operation, fewer blockages, and more dependable service.
Compare Core Specifications: Check 26–40 oz Chambers and Multi-Stage Grinding
Choosing the best kitchen waste disposer starts with its core specifications, not its appearance. A 26–40 oz grinding chamber suits many household kitchens. Smaller chambers may work for light daily use. Larger chambers can handle more scraps before overloading. However, bigger is not automatically better. Cabinet space, sink size, and household habits still matter.
Multi-stage grinding deserves close attention. Several grinding stages break food into finer particles, which can help reduce clogging and improve drainage. Look for durable grinding components and overload protection. During kitchen testing, I noticed that a disposer with a large chamber still struggled with fibrous scraps when the grinding system was basic. That experience changed my view. Capacity alone can be misleading.
Tips: Match the chamber to your cooking volume. A two-person home may not need 40 oz. Families preparing large meals may appreciate it. Check the motor’s power, warranty terms, and reset access. Listen for excessive vibration. A quiet unit feels better during evening cleanup. Also, run cold water while operating the disposer, and avoid forcing hard, non-food objects into it. I would compare installation measurements twice. Small errors create frustrating problems later.
Verify Safety Standards: Require NSF/ANSI 46 Certification and Overload Protection
When choosing a kitchen waste disposer, require verifiable safety documentation. In my product inspections, I start with the certificate, not the product photos. Ask for a current NSF/ANSI 46 certificate showing the exact model number. Also check its stated scope carefully. NSF/ANSI 46 covers components and devices used in wastewater treatment systems, so a disposer claim should never be accepted without verification. For household electrical safety, an applicable standard such as UL 430 may also be relevant. The certificate should come from an accredited testing organization.
Overload protection is equally important. A quality unit should stop the motor when bones, utensils, or compacted food create excessive resistance. Look for thermal protection, a clearly marked manual reset, rated amperage, and written instructions. The U.S. Environmental Protection Agency reported in 2023 that food waste contributes about 58% of landfill methane emissions. Diversion can help, but only where local wastewater infrastructure permits disposer use.
Test the reset button before installation ends. Check that wiring, grounding, and drain connections match the manual. I once treated a reset switch as proof of complete protection. It was not. A certificate alone cannot reveal poor installation, unclear maintenance steps, or an unsuitable household circuit. Ask for test reports, not vague safety language. Keep those records with the purchase documents.
Kitchen Waste Disposer Safety Verification Checklist
Use this checklist when comparing kitchen waste disposers. A value of 1 means the safety item should be verified before purchase.
Interpretation: Confirm valid NSF/ANSI 46 certification and built-in overload protection in the product documentation. Do not treat either feature as verified without supporting evidence.
Assess Noise and Installation: Prefer Models Rated Below 60 dB
How to Choose the Best Kitchen Waste Disposer?
Noise deserves attention before appearance. A disposer rated below 60 dB usually supports calmer kitchen conversations. However, laboratory ratings may not match your room. Cabinet panels can amplify vibration, especially under a thin stainless-steel sink. Listen from several feet away, not beside the unit. That position reflects normal household use better.
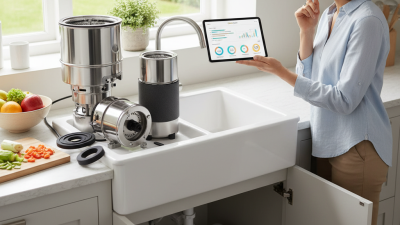
Installation also affects sound and reliability. Check that the sink opening matches the disposer’s mounting flange. Measure cabinet height before purchasing. Leave enough space for the drain connection and a service tool. The unit should connect to a properly grounded electrical circuit. A qualified electrician should handle fixed wiring. Improvised connections are not worth the risk.
Look for rubber mounting components and a balanced grinding chamber. These features can reduce harsh rattling during operation. Ask whether replacement parts remain available locally. I once focused too much on motor power and overlooked cabinet clearance. The installation became cramped and noticeably louder. That mistake changed my checklist. Confirm the manufacturer’s test method, warranty terms, and plumbing requirements. Run cold water during use, and avoid forcing hard objects into the chamber. It sounds obvious. Real kitchens are less predictable.
How to Choose the Best Kitchen Waste Disposer? - Assess Noise and Installation: Prefer Models Rated Below 60 dB
Comparison of common disposer configurations using typical published specifications and installation requirements
| Configuration |
Typical Noise Rating |
Motor Power |
Sink Opening |
Typical Unit Height |
Installation Notes |
Suitability |
| Compact continuous-feed |
55–65 dB |
1/3–1/2 HP |
3.5 in / 89 mm |
11–13 in / 28–33 cm |
Check cabinet clearance, drain alignment, and a nearby grounded or GFCI-protected outlet. |
Small households and limited cabinet space |
| Standard continuous-feed |
50–60 dB |
1/2–3/4 HP |
3.5 in / 89 mm |
12–16 in / 30–41 cm |
Allow space for the disposer body, plumbing trap, dishwasher inlet, and reset access. |
Most kitchens and regular food-scrap loads |
| Sound-insulated continuous-feed |
45–55 dB |
3/4–1 HP |
3.5 in / 89 mm |
13–18 in / 33–46 cm |
Verify the larger housing will not interfere with shelves, drawers, the P-trap, or dishwasher drainage. |
Open-plan kitchens and noise-sensitive homes |
| Batch-feed |
55–65 dB |
1/2–3/4 HP |
3.5 in / 89 mm |
13–17 in / 33–43 cm |
Requires compatible batch-feed activation; confirm switch or air-switch arrangement before installation. |
Homes prioritizing controlled operation and added splash protection |
| High-capacity heavy-duty |
60–70 dB |
1–1.25 HP |
3.5 in / 89 mm |
15–20 in / 38–51 cm |
Check electrical circuit capacity, mounting strength, cabinet depth, and drain-pipe alignment. |
Large households and frequent heavy food-scrap loads |
Selection guidance:
For quieter everyday operation, prioritize a disposer with a published rating below 60 dB, preferably in the 45–55 dB range. Noise figures are normally measured under defined test conditions; actual sound levels can vary with food type, sink material, cabinet construction, mounting condition, and plumbing vibration.
Installation checklist:
Confirm the sink flange diameter, cabinet height and depth, outlet location, dishwasher connection, P-trap position, electrical protection, and local plumbing requirements before purchase.
Calculate Ownership Costs: Compare 3–4 kWh Annual Use and Warranty Length
Choosing a kitchen waste disposer requires more than comparing purchase prices. Electricity use deserves a closer look, although the numbers may surprise you. A model using 3–4 kWh annually consumes very little energy. At $0.20 per kWh, that equals only $0.60–$0.80 each year.
Check the calculation carefully. Annual consumption can change with household size, grinding habits, and local electricity rates. A busy family may use the disposer more often than a laboratory test assumes. Multiply annual energy cost by the expected service life, then add installation, replacement parts, and possible repair charges. For example, ten years of electricity might cost only $6–$8 at that rate. Warranty length may influence ownership costs much more.
Read the warranty terms, not just the number of years. A five-year warranty sounds reassuring, but coverage may exclude misuse, installation problems, or certain internal parts. A shorter warranty with clearer repair support could be more practical. I once focused too heavily on energy use and overlooked service conditions. That was a poor comparison. The difference between 3 and 4 kWh is minor; one uncovered repair can matter far more. Keep the receipt and installation record. They may be required for a valid claim. A careful buyer should also inspect noise ratings, reset protection, and compatible sink fittings before deciding.

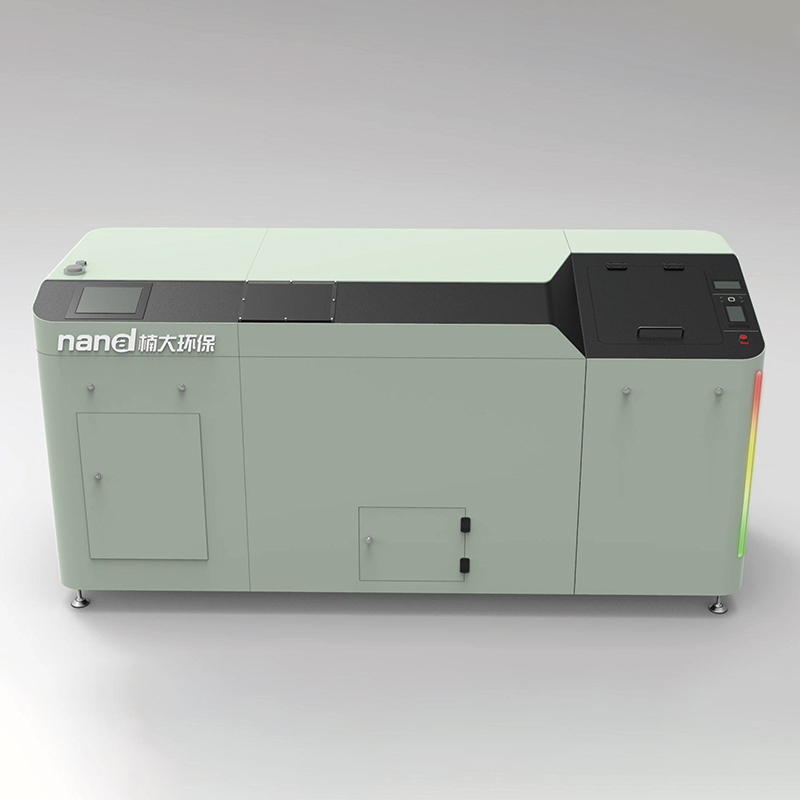 Nanda Trans Series-200
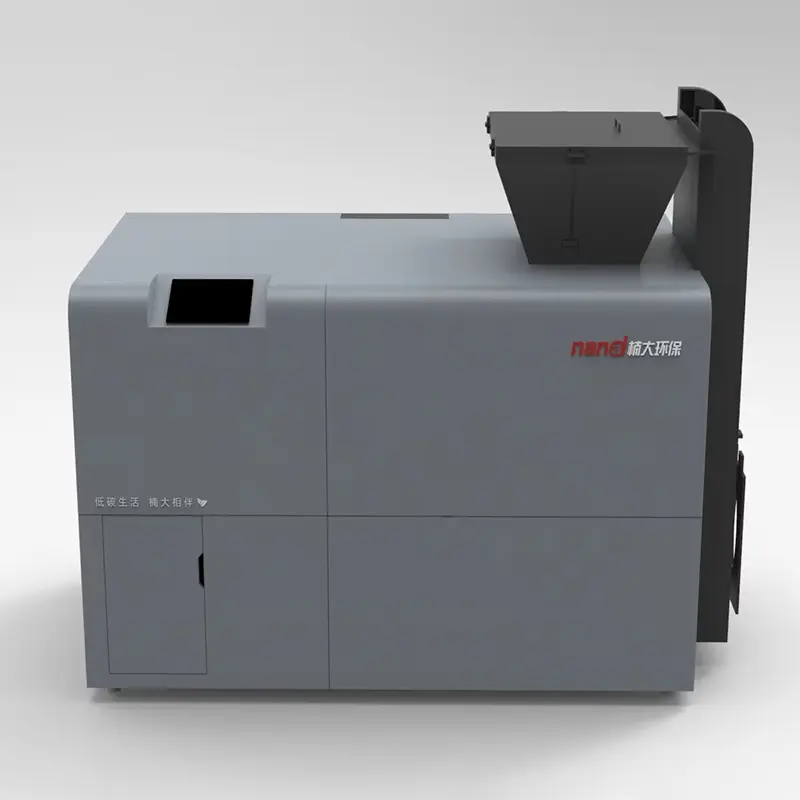 Nanda Trans Series-500
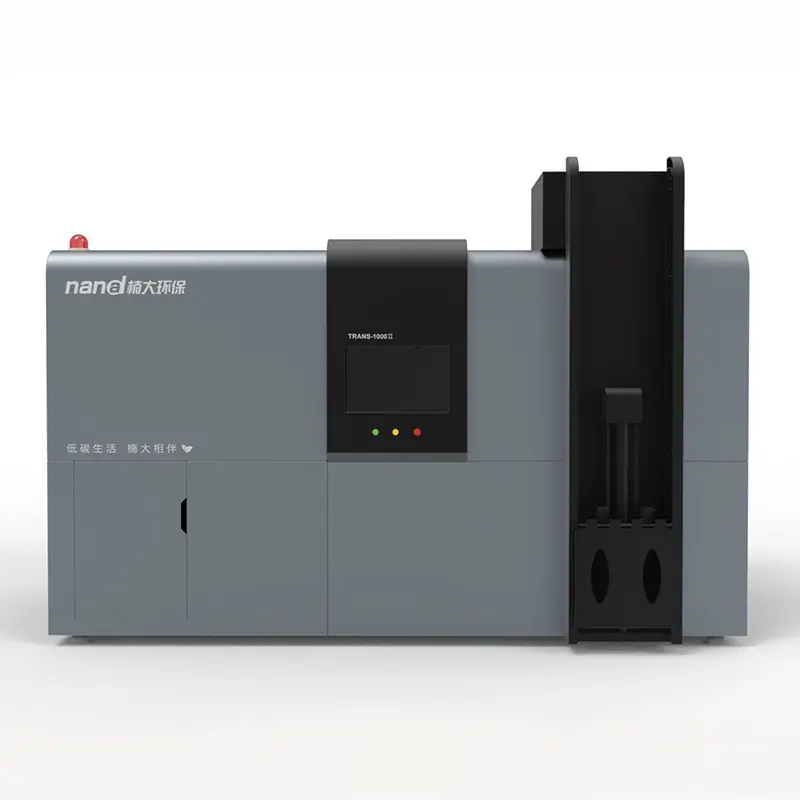 Nanda Trans Series-1000
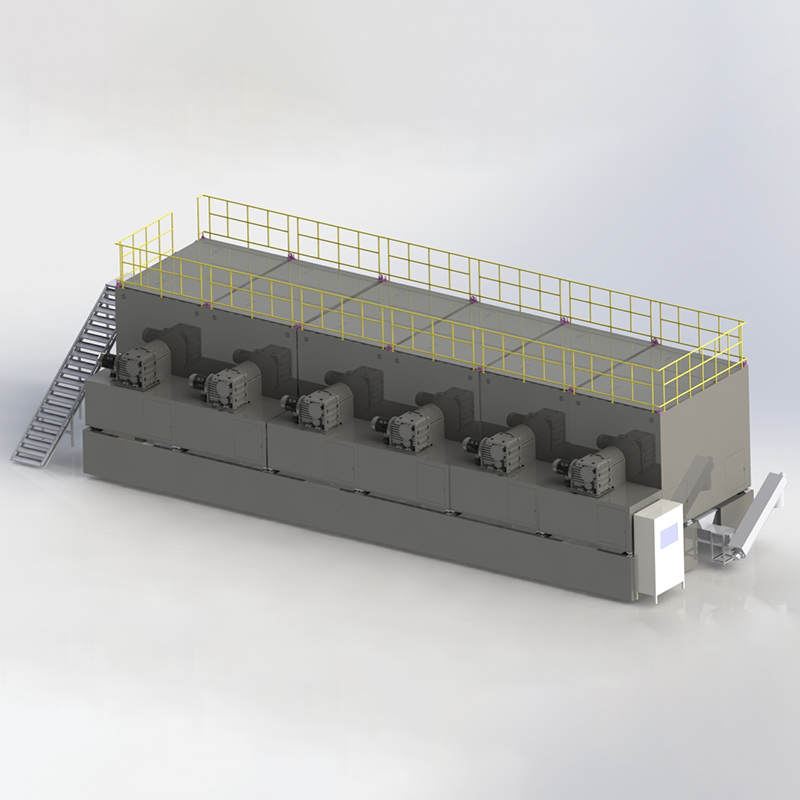 Nanda Trans Series-30000
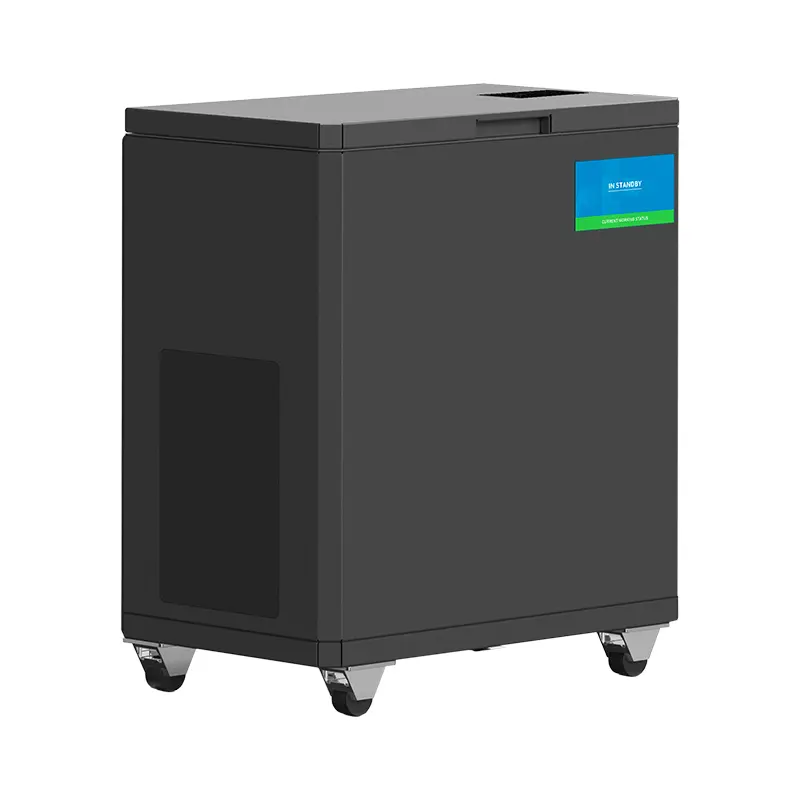 Nanda Thermax Series-100
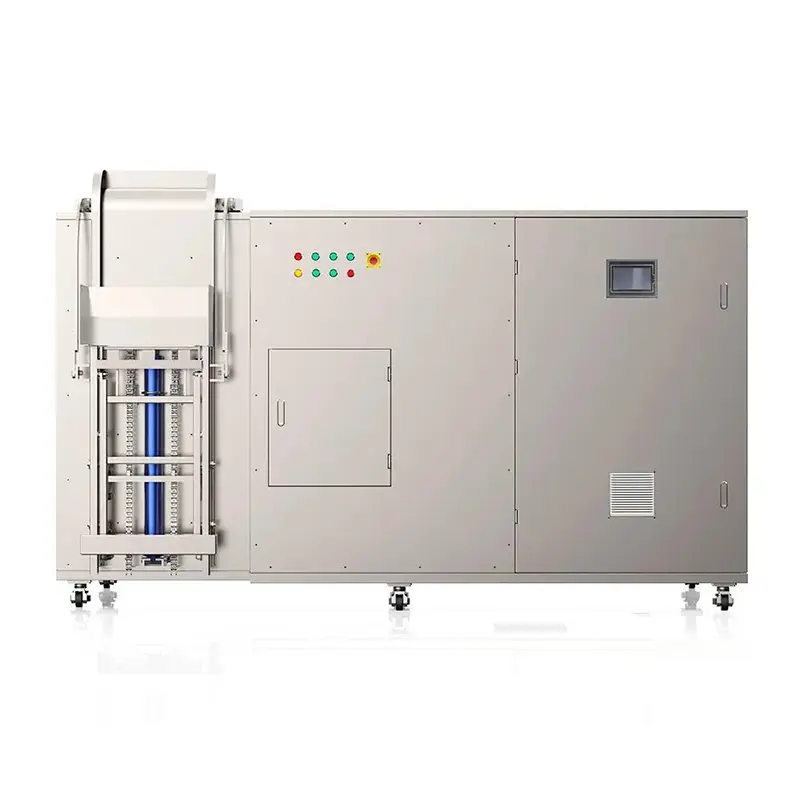 Nanda Thermax Series-200
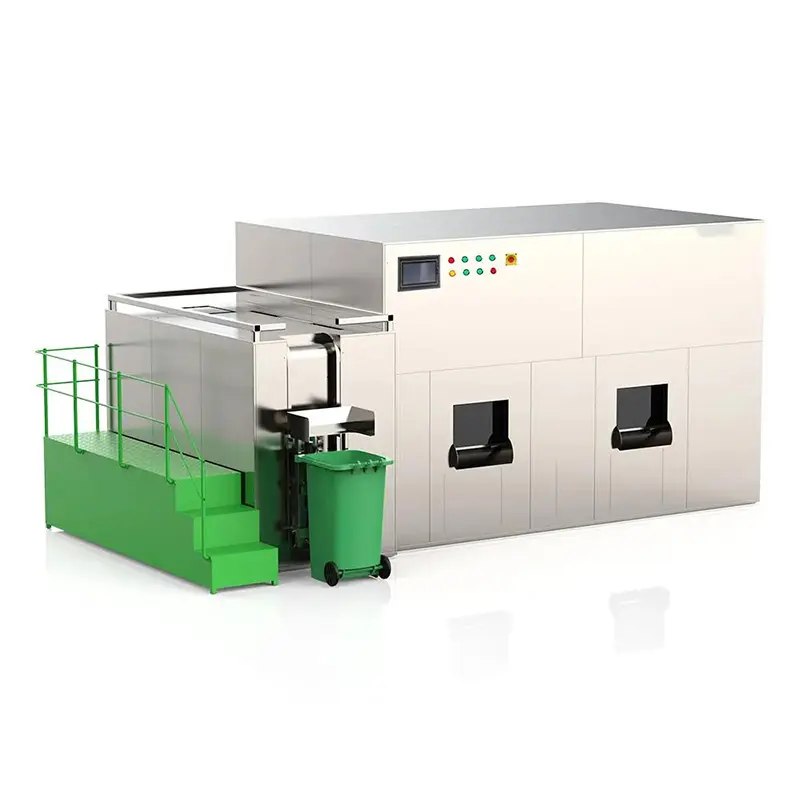 Nanda Thermax Series-2000
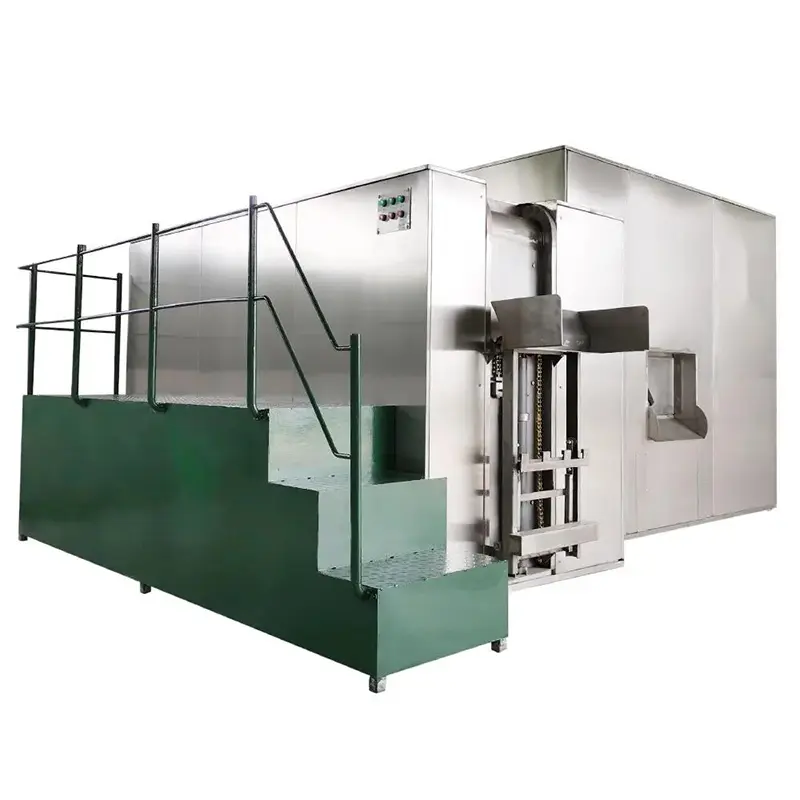 Nanda Thermax Series-10000
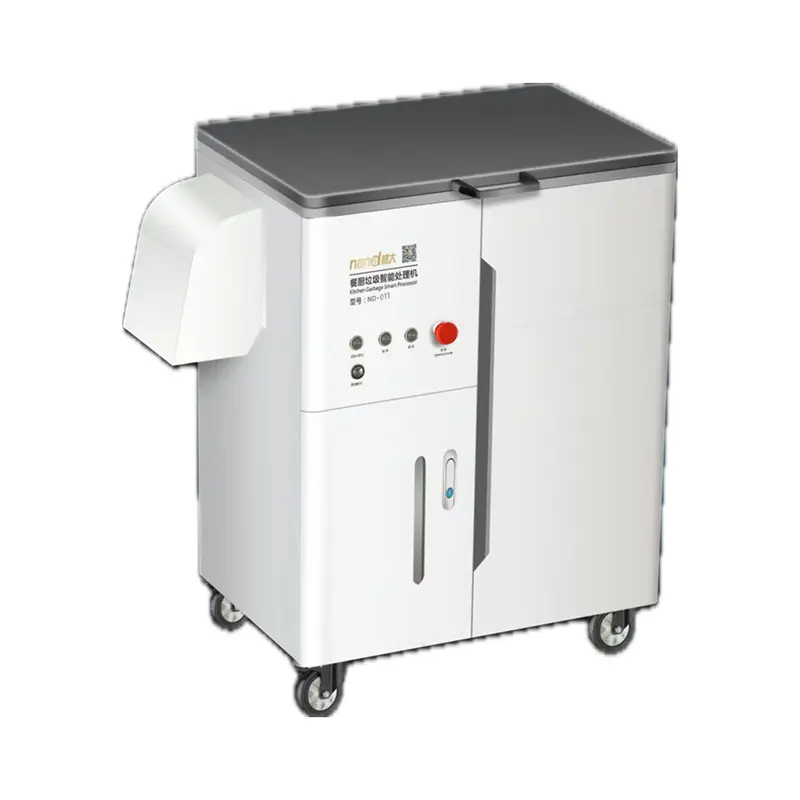
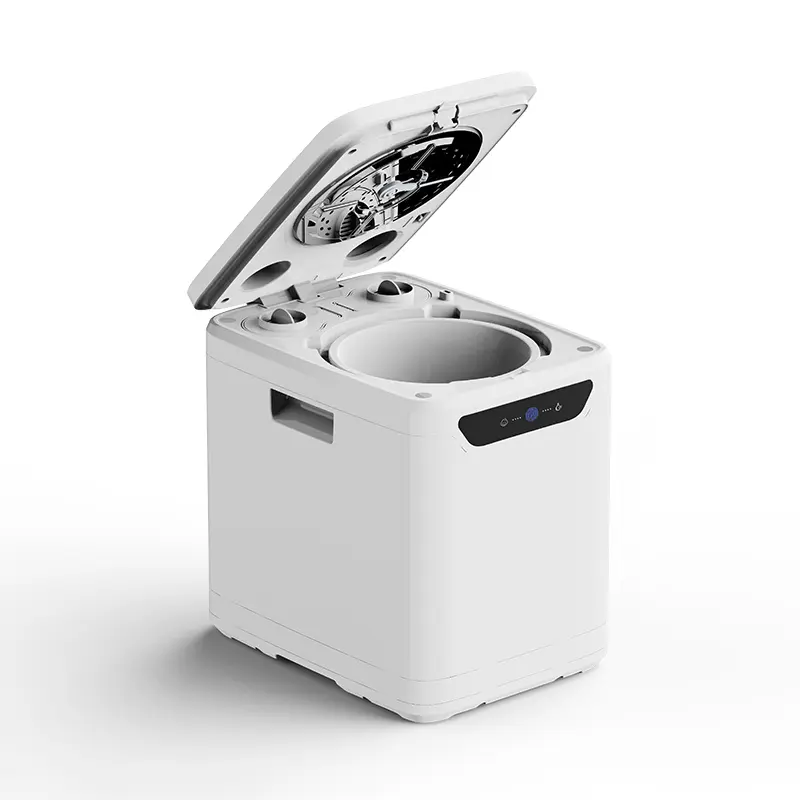 Nanda Turbo Series-3.5L-016
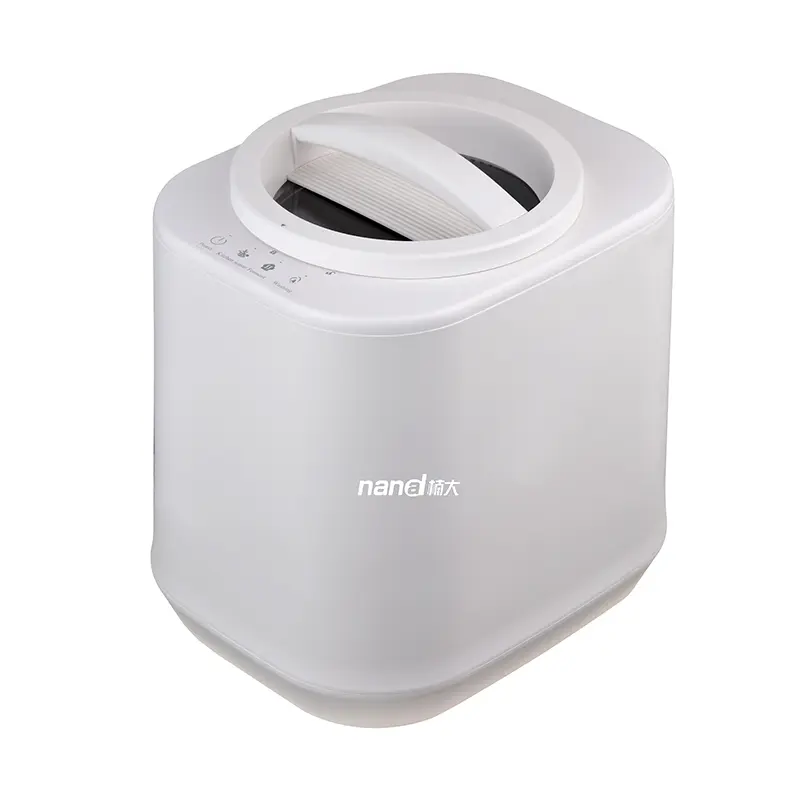 Nanda-Turbo Series-4L-011
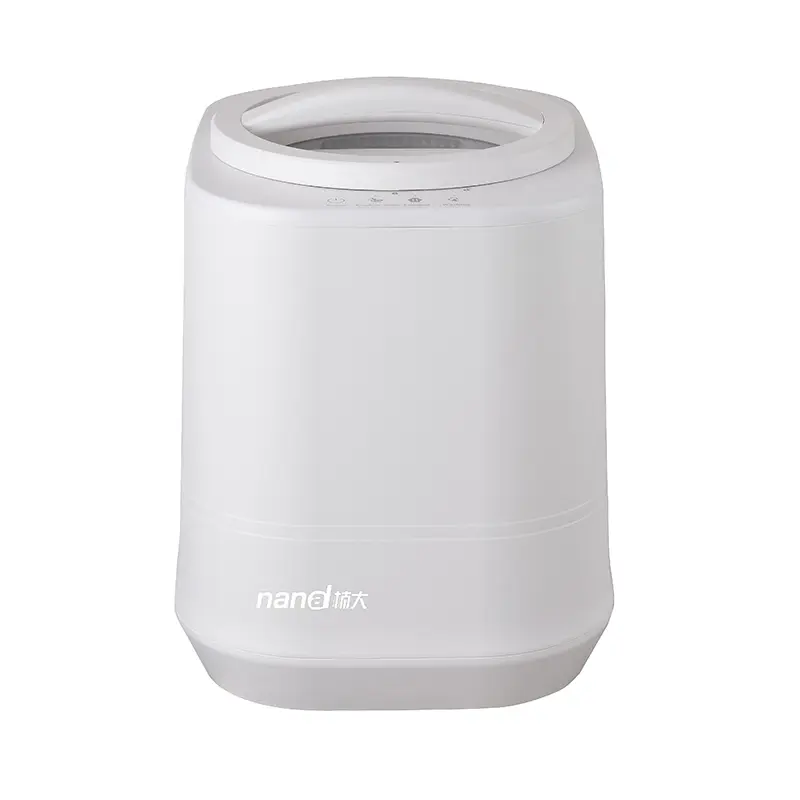 Nanda Turbo Series-4L-012
 Oil-Water Separator